Updated September 5, 2026
Disclosure: As an Amazon Associate, I earn from qualifying purchases. This comes at no extra cost to you and helps keep this site running.
I want to walk you through setting up home EV charging, because it is the biggest quality-of-life upgrade in EV ownership and it matters more than any accessory I have reviewed. After three Teslas and more than 50,000 EV miles, home charging covers everything for me except road trips. My car starts every day at 80% from the driveway. Public charging is just the backup.
I love my Teslas, but if I couldn’t charge at home I would still own a gas car. That is how much of the ownership experience rides on this one setup.
The convenience is also cheap. I tracked a full year of real charging bills across three Teslas, and it came to about 5.7¢ a mile.
Plenty of owners still overpay for a panel upgrade they don’t need, or buy a 48-amp charger their wiring can’t feed. The federal 30C charger tax credit that many of them chased has since expired. More on that below. This guide walks through home EV charging setup in six steps, in the order you should do them.
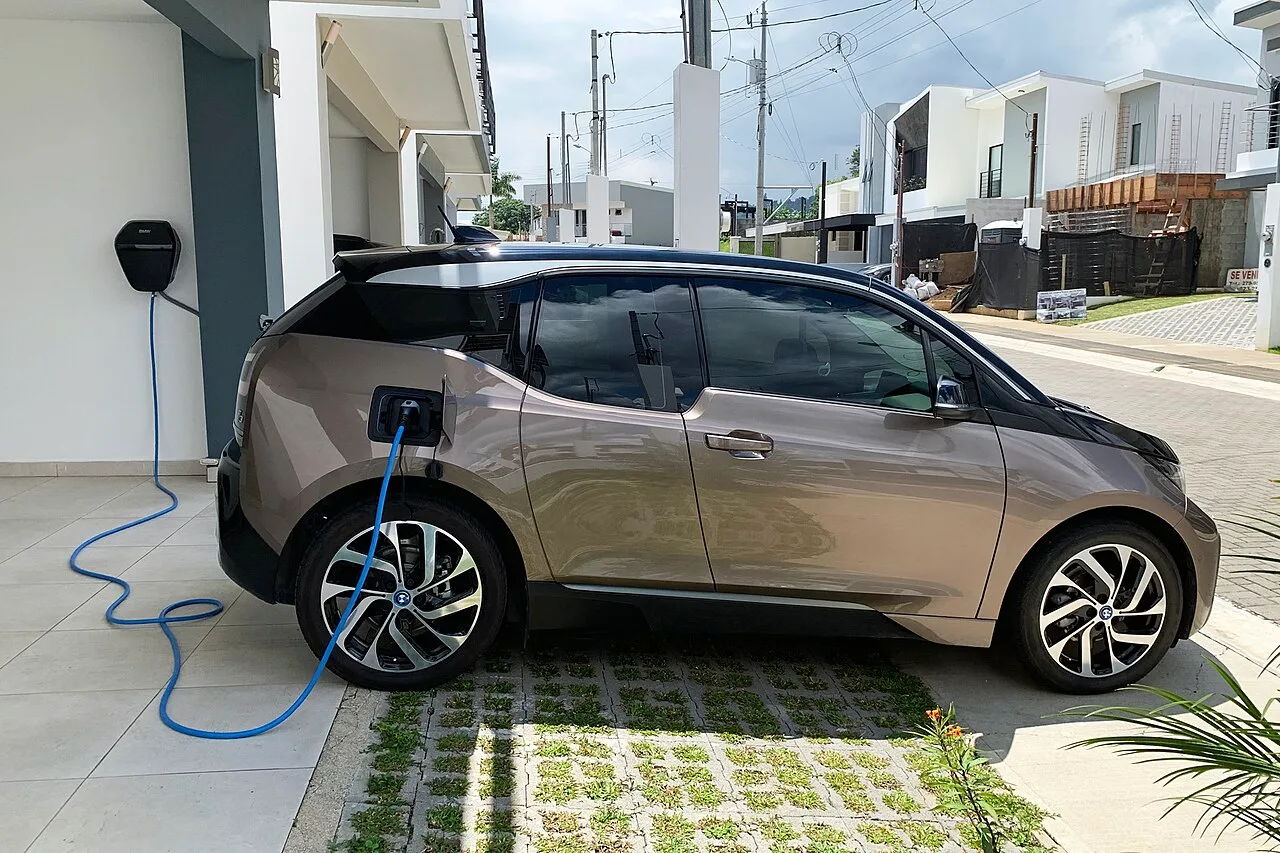
One electrician visit turns your home into the cheapest, most convenient charging station you’ll ever use.
Step 1: Understand Home EV Charging Levels (and Which You Need)
Every home EV charging setup is one of two flavors:
| Level 1 (120V) | Level 2 (240V) | |
|---|---|---|
| Outlet | Standard household outlet | NEMA 14-50 or hardwired circuit |
| Power | ~1.2–1.4 kW | 7.7–11.5 kW (32–48A) |
| Range added per hour | ~3–5 miles | ~25–44 miles |
| Overnight (10 hrs) | ~30–50 miles | Full battery, basically always |
| Install cost | $0 | ~$800–$2,000 typical |
| Best for | Short commutes, plug-in hybrids, renters | Everyone else |
Level 1 is the cord that comes with (some) cars plugged into a regular outlet. It’s genuinely fine if you drive under ~40 miles a day and can plug in every night — I cover when that’s the smart, zero-cost choice in my Level 1 charger guide. For everyone else, Level 2 is the answer, and my best Level 2 home chargers guide ranks the specific units. The rest of this article is about getting Level 2 done right.
Step 2: Check Your Electrical Panel Before Anything Else
Your panel — the gray breaker box — decides everything about your home EV charging setup: how fast you can charge, what the install costs, and whether you need upgrades. Two things to check before calling an electrician:
- 🔌Total panel capacityIt’s printed on the main breaker: usually 100, 150, or 200 amps. A 200A panel almost always has room for EV charging. A 100A panel in an older home may need load management or (worst case) an upgrade.
- 📐The 80% continuous-load ruleElectrical code treats EV charging as a continuous load, so a circuit can only deliver 80% of its breaker rating to the car. A 50-amp circuit charges at 40A (9.6 kW); a 60-amp circuit at 48A (11.5 kW). This is why “48-amp charger” and “50-amp circuit” don’t pair — and why your electrician will size the wire and breaker around the charger you pick first.
Honest truth from my own driveway: my two Wall Connectors share one 60-amp circuit in power-share mode, and a single car pulls 48 amps only when it charges alone, yet the cars are always full by morning. Faster is nicer, but almost nobody needs 48 amps at home. If a 40A or even 32A circuit avoids panel work entirely, take the savings.
Step 3: Outlet (NEMA 14-50) or Hardwired?
A Level 2 home EV charging unit connects one of two ways, and the choice matters more than most guides admit:
| NEMA 14-50 Outlet | Hardwired | |
|---|---|---|
| Max charging | 40A (9.6 kW) | 48A+ (11.5 kW+) |
| Typical install | $800–$1,200 | $1,000–$1,500 |
| Portability | Unplug and take it when you move | Fixed to the wall |
| Outdoor use | OK with weatherproof cover | Better (no plug connection to weather) |
| Gotcha | Needs a GFCI breaker + an EV-rated outlet | Slightly higher electrician bill |
My take: renters and frequent movers should choose a 14-50 outlet with a plug-in charger; homeowners planning to stay put should hardwire at 48A and never think about it again.
Step 4: Pick Your Charger
Full rankings live in my Level 2 charger guide and the head-to-head Tesla Wall Connector vs ChargePoint Home Flex comparison, but here are the three setups I recommend most:
Tesla Universal Wall Connector
Up to 48A hardwired, with both NACS and J1772 built in — charges a Tesla and any other EV. The cleanest one-charger answer for most homes in 2026.
Available Direct from Tesla →ChargePoint Home Flex
Adjustable 16–50A, plug-in or hardwired, excellent app with charging schedules and utility-rate awareness. The best non-Tesla ecosystem pick.
Check Price on Amazon →Budget Pick: Portable Level 2 (NEMA 14-50)
A 32A portable unit plugged into a 14-50 outlet delivers 90% of the wall-mounted experience for half the hardware cost — and doubles as a road-trip backup.
Check Price on Amazon →Step 5: Installation Costs and Hiring the Electrician
Here’s what real home EV charging installs cost in 2026, based on current contractor pricing:
| Scenario | Typical Cost | Notes |
|---|---|---|
| Garage next to panel, 14-50 outlet | $300–$700 | Short wire run, 2–3 hrs labor |
| Standard install, charger + labor + permit | $800–$2,000 | What most homeowners actually pay |
| Long wire run / detached garage / outdoor | $1,500–$3,000+ | Conduit and trenching add up fast |
| Load-management device (instead of panel upgrade) | $250–$600 | Ask about this before approving panel work |
| Full panel upgrade (only if truly needed) | $2,000–$5,000 | Get a second quote first |
Three rules for the electrician visit: get two quotes (pricing on identical work varies wildly), make sure the quote includes the permit (a permitted install protects your home insurance and resale), and tell them which charger you bought before they come so the breaker, wire gauge, and location are sized to it.
Step 6: The 30C Tax Credit Has Expired — What to Claim Instead
While it was active, the 30C credit applied to homes in non-urban or low-income census tracts and covered 30% of hardware and installation via IRS Form 8911 (the Department of Energy’s 30C page documents the historical rules). If you installed and placed your charger in service on or before June 30, 2026, keep the electrician’s itemized invoice — installation labor counted toward the 30% — and claim it on that year’s taxes. For installs after that date, the federal credit is gone, but state and utility rebates are still active and can cover a meaningful share of the cost. I keep a current list in my EV incentives guide.
📋 Setting up home charging? Grab the free EV Switch Decision Worksheet first.
It walks your real numbers—outlet options, mileage, winter range—so you size your setup right the first time. No spam, unsubscribe anytime.
Bonus Step: Charge When Electricity Is Cheap
Once the hardware’s in, the last win is when you charge. Most utilities offer time-of-use (TOU) plans with overnight rates dramatically cheaper than daytime power — often less than half. Set a charging schedule in your car or charger app (every pick above supports it), plug in when you get home, and let it start automatically at 11 p.m. or midnight. In my driveway that works out to about 5.7¢ a mile — roughly $5.70 per 100 miles. No gas station on earth competes with that.
Our Honest Verdict
Home EV charging pays you back three ways. Ten seconds to plug in at night beats every stop at a gas station. Off-peak power is the cheapest fuel you can buy in America, and state or utility rebates can still cover part of the install now that the federal 30C credit has expired. Slow overnight Level 2 charging is also easy on the battery, which is what the pack was built for. Do it in the first month of ownership. I have not met an owner who regretted it.
Related Guides
Sources & further reading: U.S. DOE — Alternative Fuel Infrastructure Tax Credit · IRS — Refueling Property Credit (Form 8911) · energy.gov — Charging at Home
Camping with your EV? See our guide to charging a Tesla at a campground — the 50-amp vs 30-amp pedestal breakdown and the exact adapters you need.
As an Amazon Associate I earn from qualifying purchases.