
Updated September 5, 2026
Disclosure: As an Amazon Associate, I earn from qualifying purchases. This comes at no extra cost to you and helps keep this site running.
If your Tesla's AC has started smelling like a gym locker, or it's simply been two years since anyone touched the filters, this Tesla Model Y cabin air filter replacement guide walks you through the whole job. Tesla will do it at a service appointment, but there's no reason to book one: the filters sit behind the passenger footwell, everything comes apart with a plastic trim tool and one screw, and you're done in about half an hour. I did this exact job on my 2023 Model Y and took photos of every step so you know what you're looking at before you start.
The steps below are from a 2023 Model Y. The Model 3 layout is nearly identical, and other Model Y years are very close, but there are small differences by year and model, so if yours doesn't match a photo exactly, don't force anything. It's one of the easiest jobs on the car, right alongside cleaning the windshield cameras and the other small maintenance most owners hand to service without needing to.
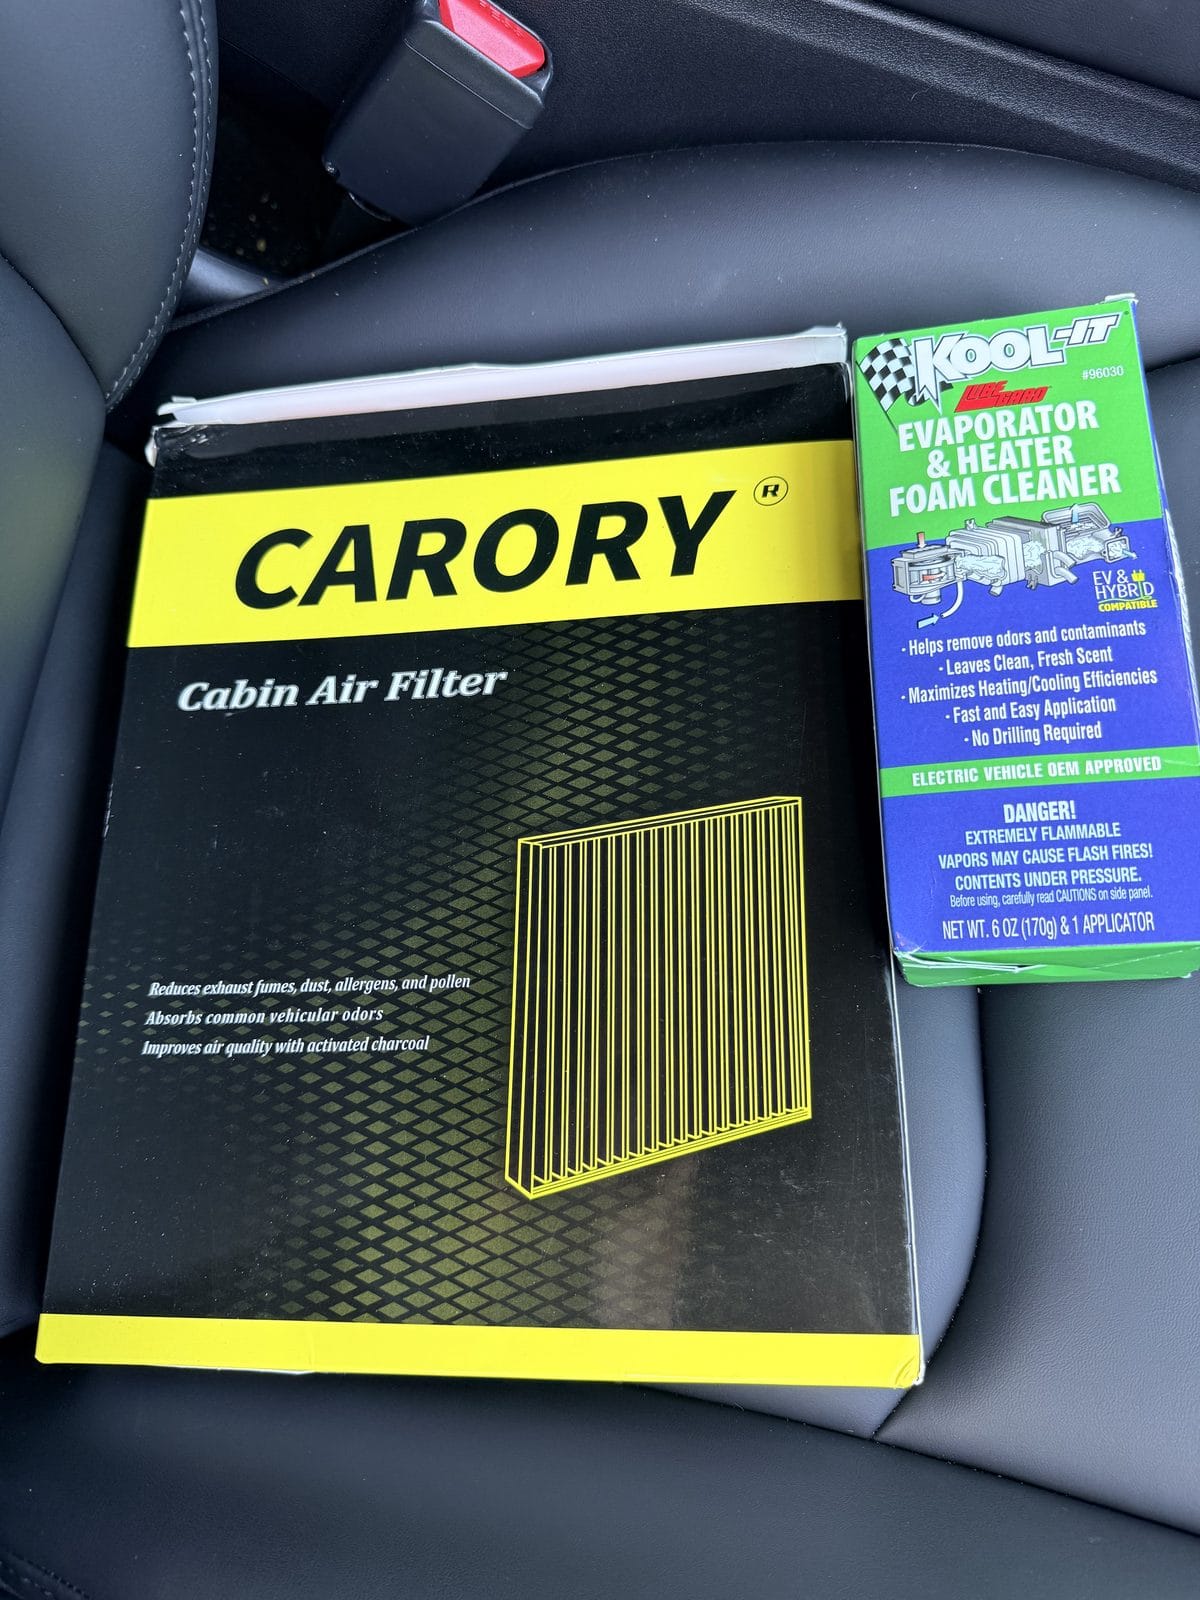
What You Need for a Tesla Model Y Cabin Air Filter Replacement
Two products, both under $20 — but only the filter kit is required. The evaporator cleaner is for the optional coil clean in Step 5: skip it if your AC smells fine and you just want fresh filters, grab it if you want to head off (or get rid of) the musty smell while everything's already open. The filter kit includes the tools.
CARORY Cabin Air Filter 2-Pack with Activated Carbon (Model 3 / Y)
This is the filter set I used, and my box shipped with a plastic trim removal tool and the wrench you need to open the filter housing cover. One heads-up: Amazon's listing currently lists only the filters as included — so have a trim tool and a small wrench handy in case your box ships without them. The filters themselves have an activated-carbon layer for odors.
Specs: Fits Model 3 (2017–2026) & Model Y (2020–2026) | Activated-carbon odor layer | Matches Tesla OE# 1107681-00-A
Check Price on Amazon →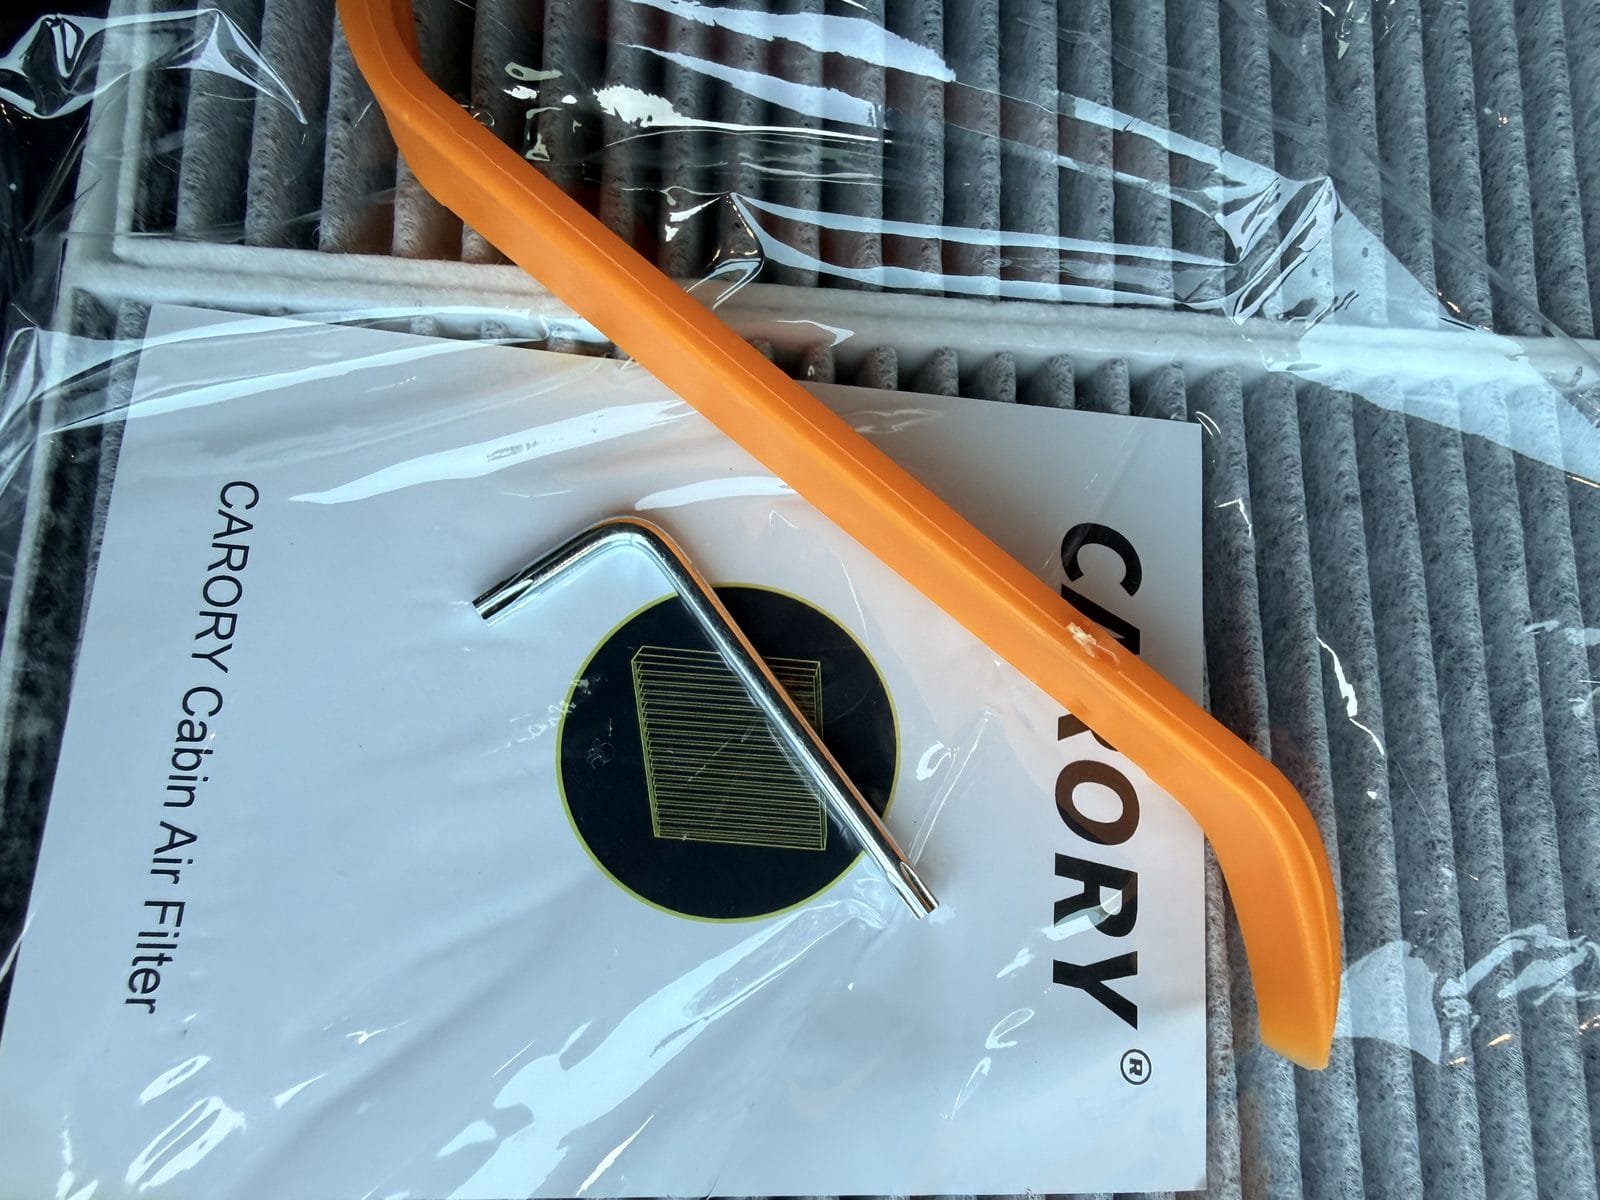
Leak Saver Foam Blaster AC Coil Cleaner
While the filters are out, the AC evaporator is sitting right there exposed — this is your one easy chance to clean it. The evaporator cleaner I personally used (Lubegard Kool-It) is often out of inventory, so this is the one I now point people to — an HVAC-grade, no-rinse evaporator foam made by a company owned by HVAC technicians. Same coil, same job. One honest heads-up: it doesn't come with a flexible applicator tube, so aiming it through the filter opening can be a little awkward — keep the can as upright as the angle allows and let the foam do the work.
Specs: Foaming aerosol | 18 oz can | No-rinse on evaporators
Check Price on Amazon →Step-by-Step: Replacing the Filters and Cleaning the Evaporator
Move the passenger seat all the way back and settle in on the passenger floor. Total time: about 30 minutes with the optional evaporator clean (15 of that is just waiting for the foam to soak), or roughly 15 minutes for a straight filter swap.
Step 1: Pop off the side trim panel
The narrow trim panel on the passenger side of the center console pulls straight off. Work the plastic trim tool into the seam and pry gently — it's held by clips, and it will let go with a few firm pops. No screws here.
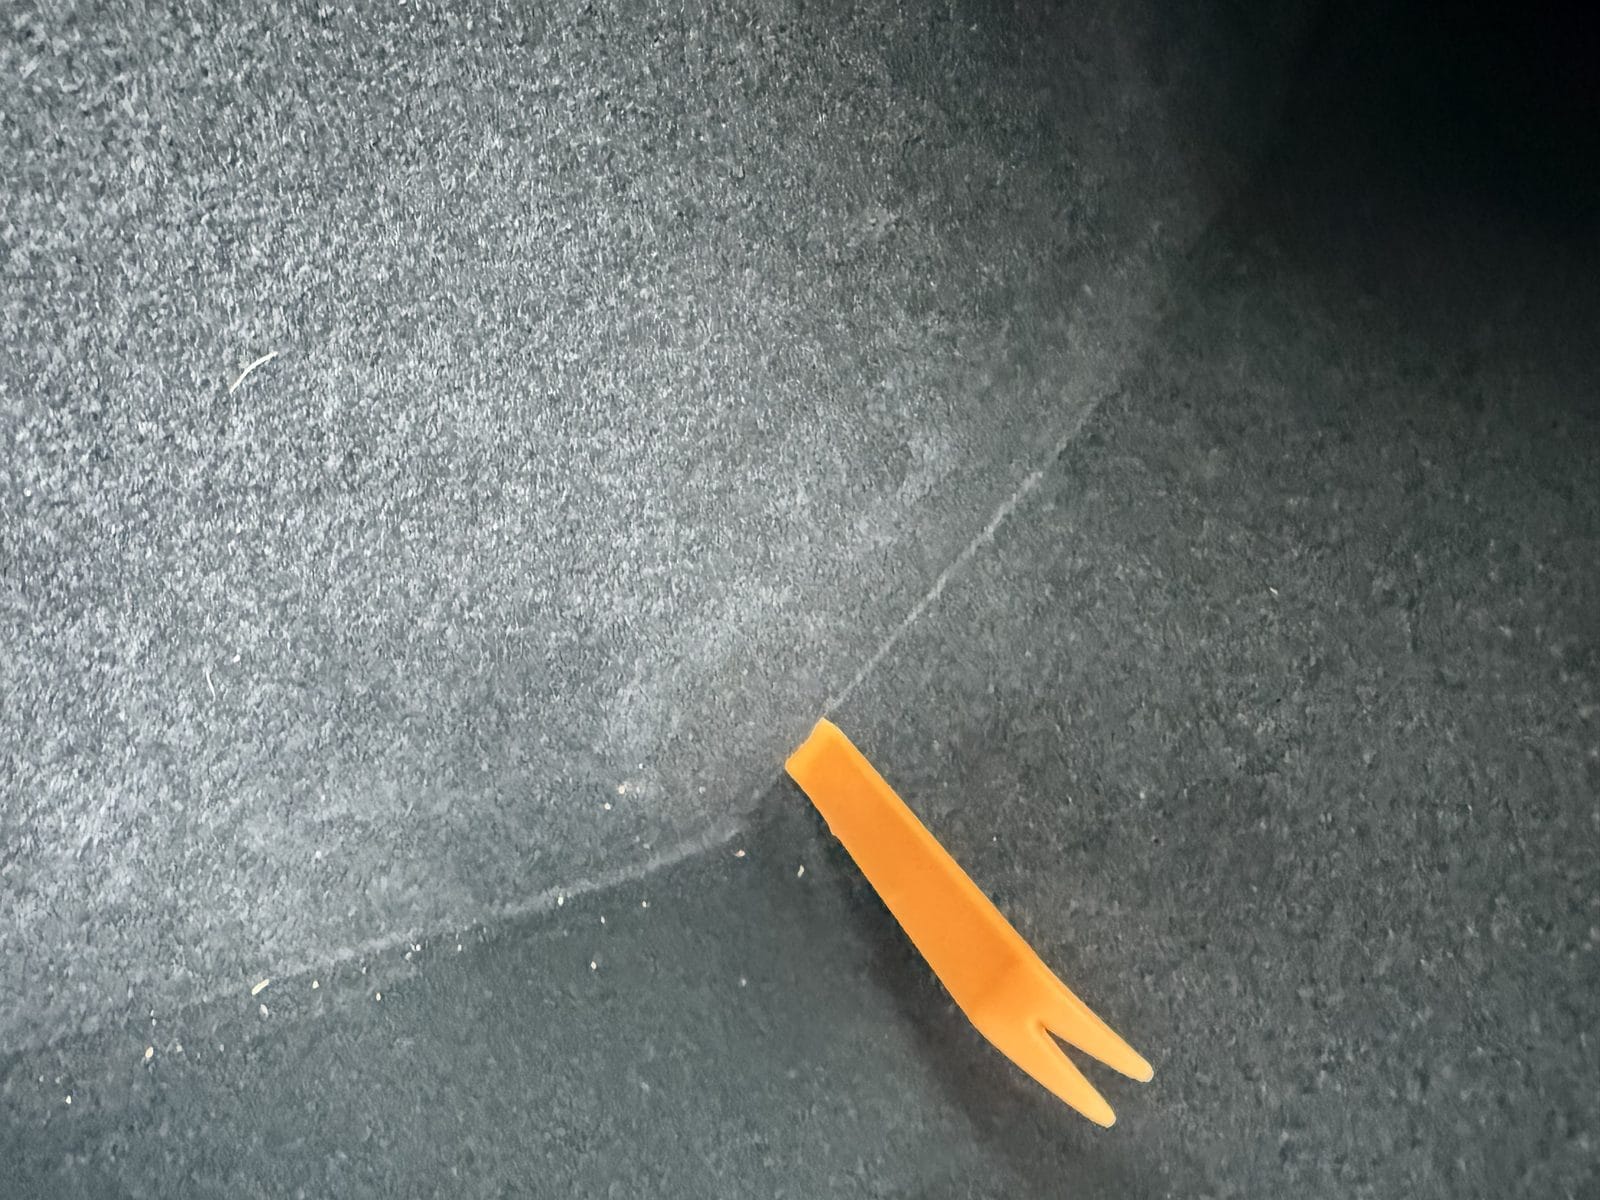
Step 2: Remove the cover beneath the glove box
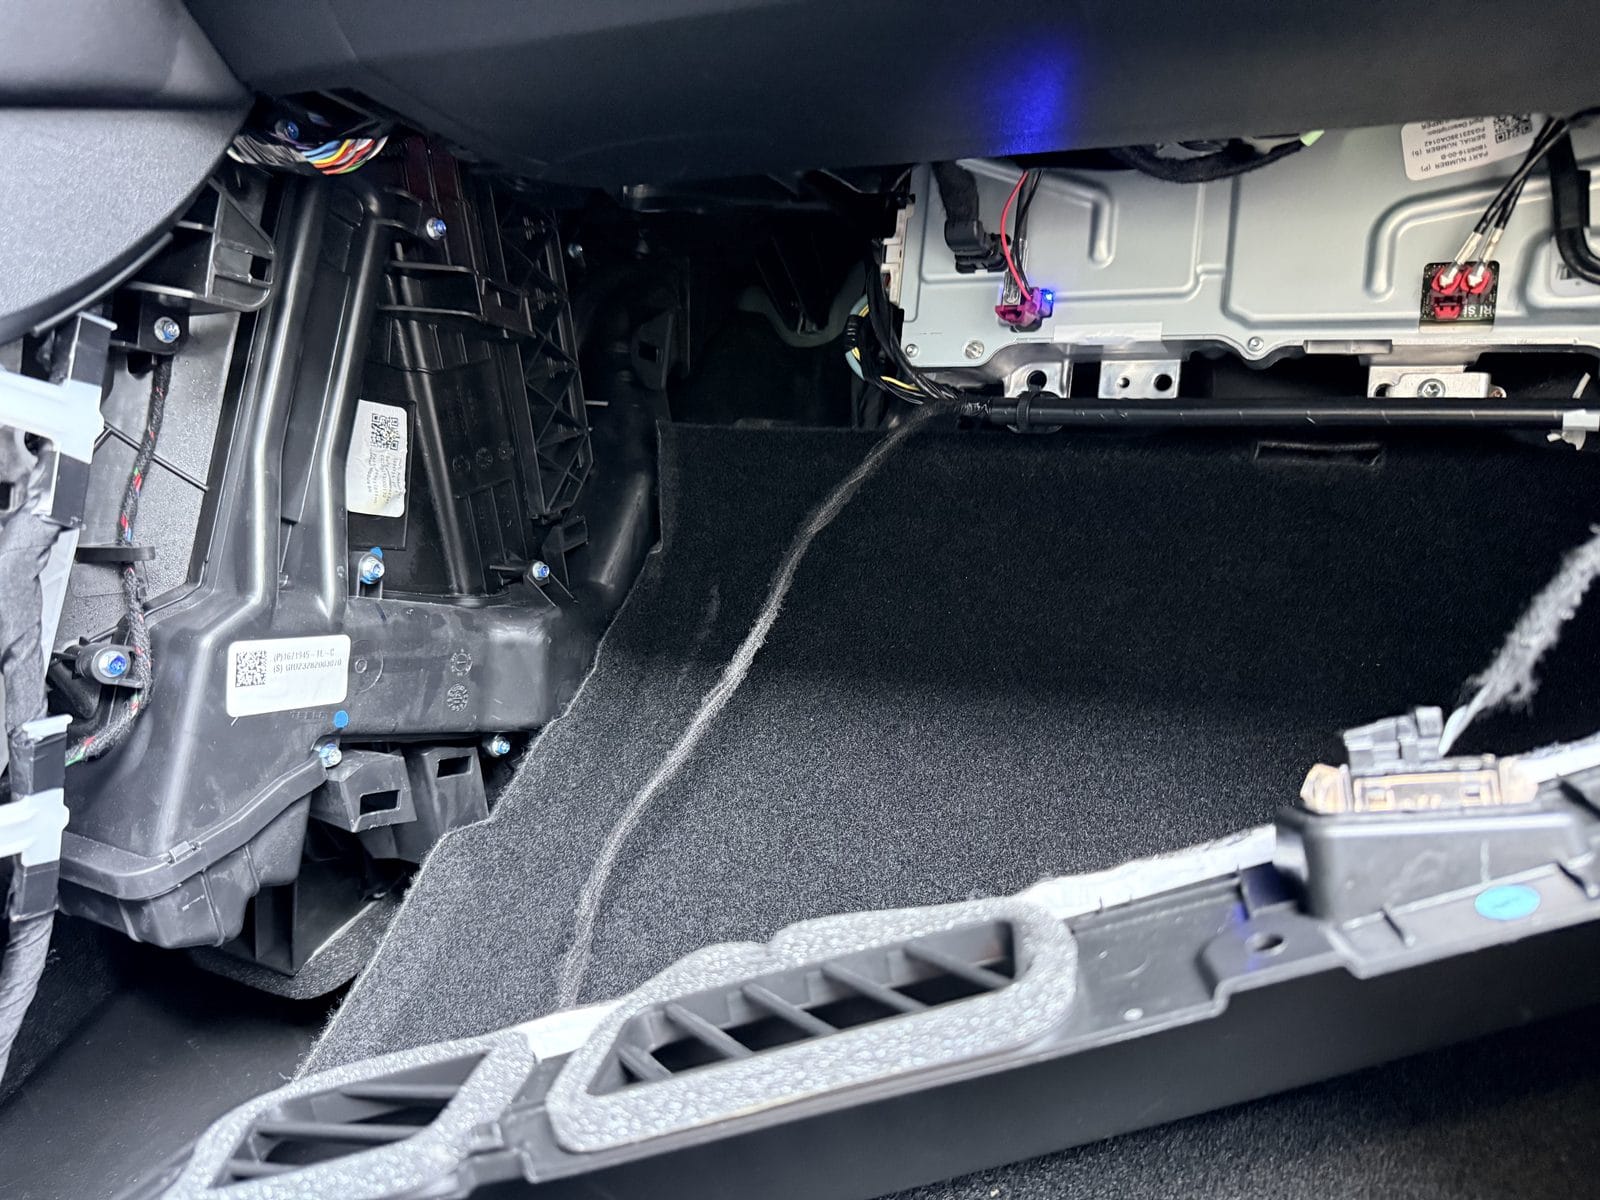
The carpeted panel under the glove box is held by four push pins (also called push rivets or Christmas-tree clips). Slip the forked end of the trim tool behind each pin's head and lever it out, then lower the panel away.
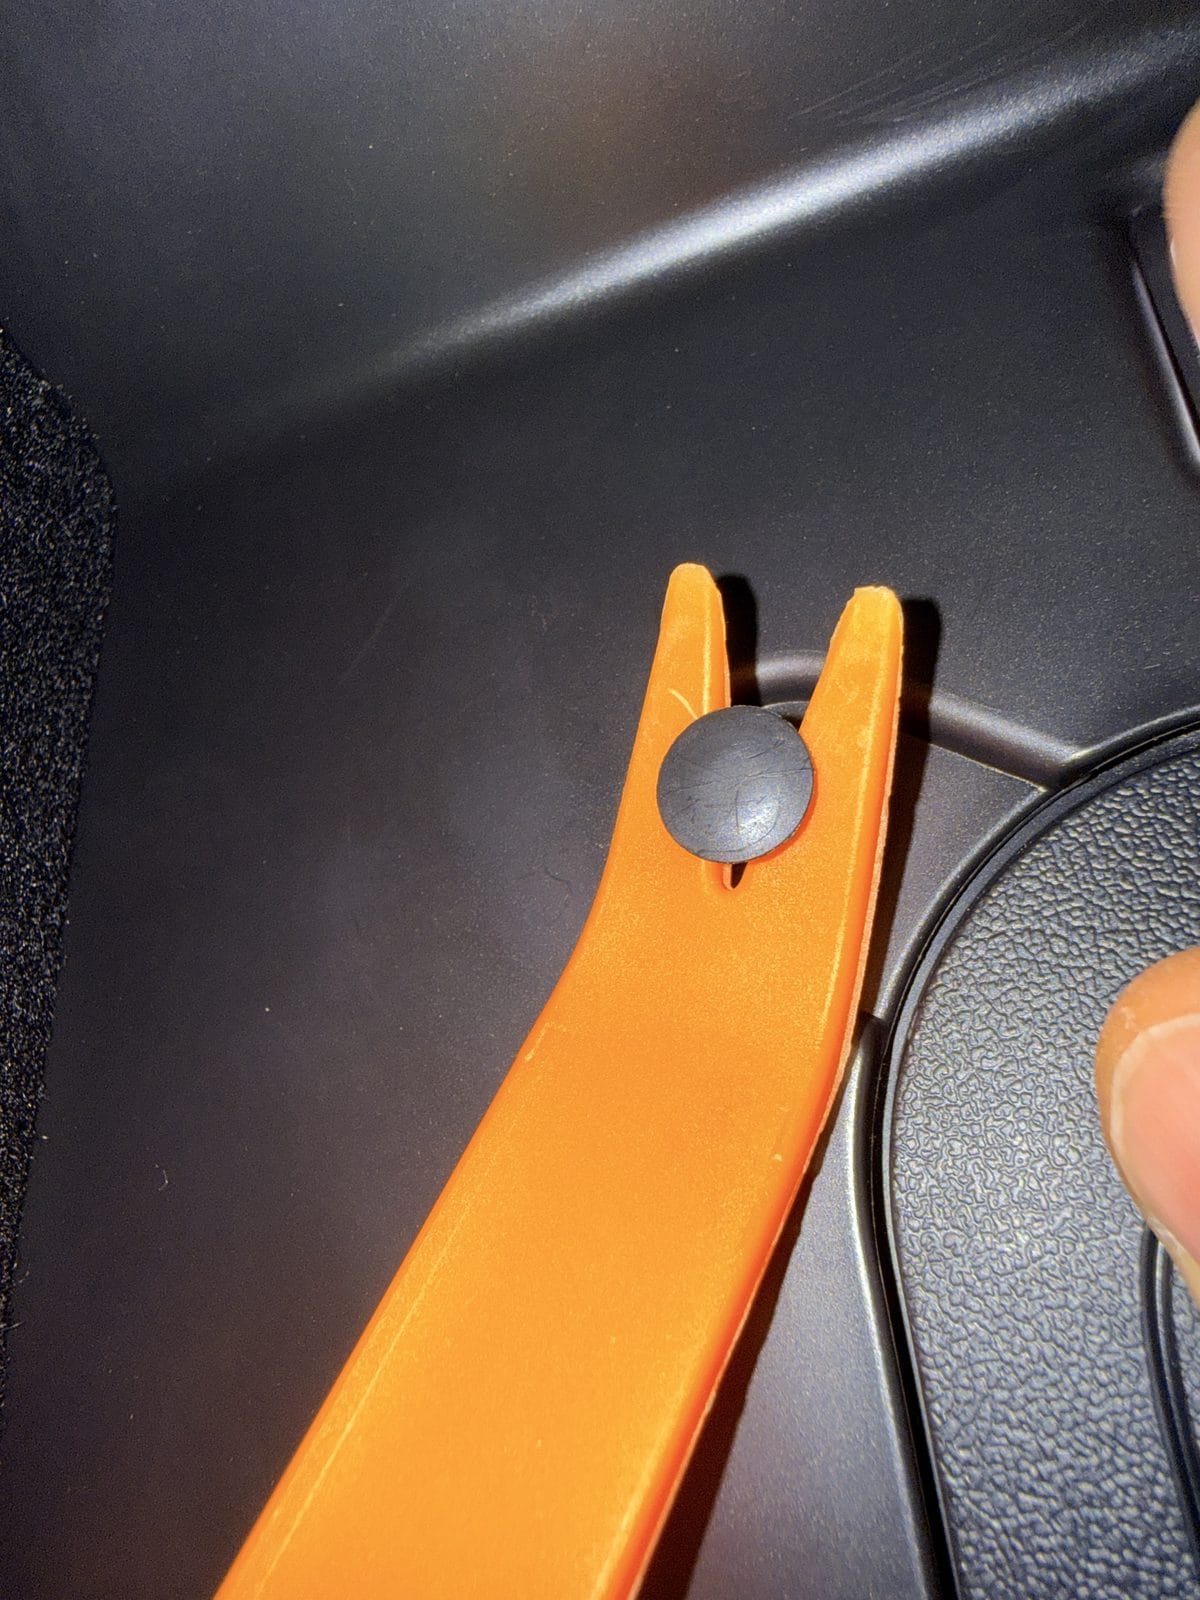
Step 3: Open the filter housing cover
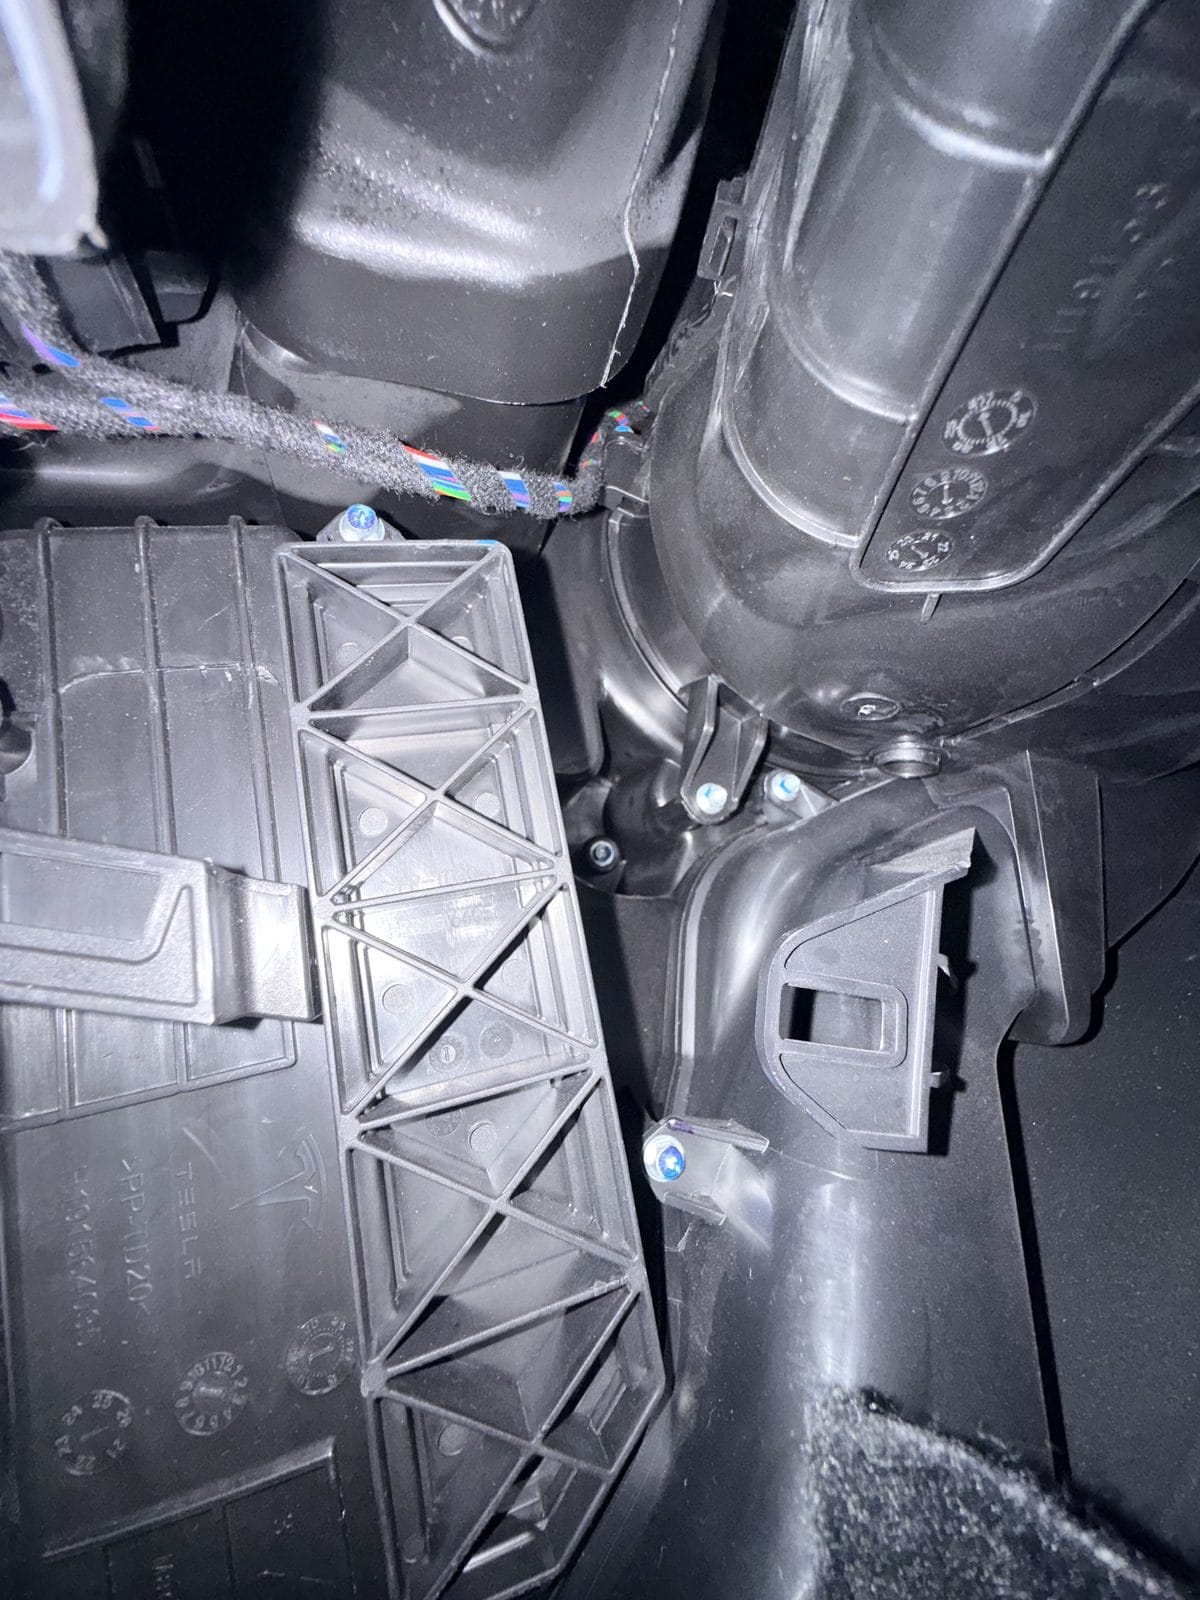
You're now looking at the HVAC housing. The filter access cover is held by a single screw — remove it with a small wrench (mine came in the filter kit) and set the cover aside.
Step 4: Pull out the two old filters
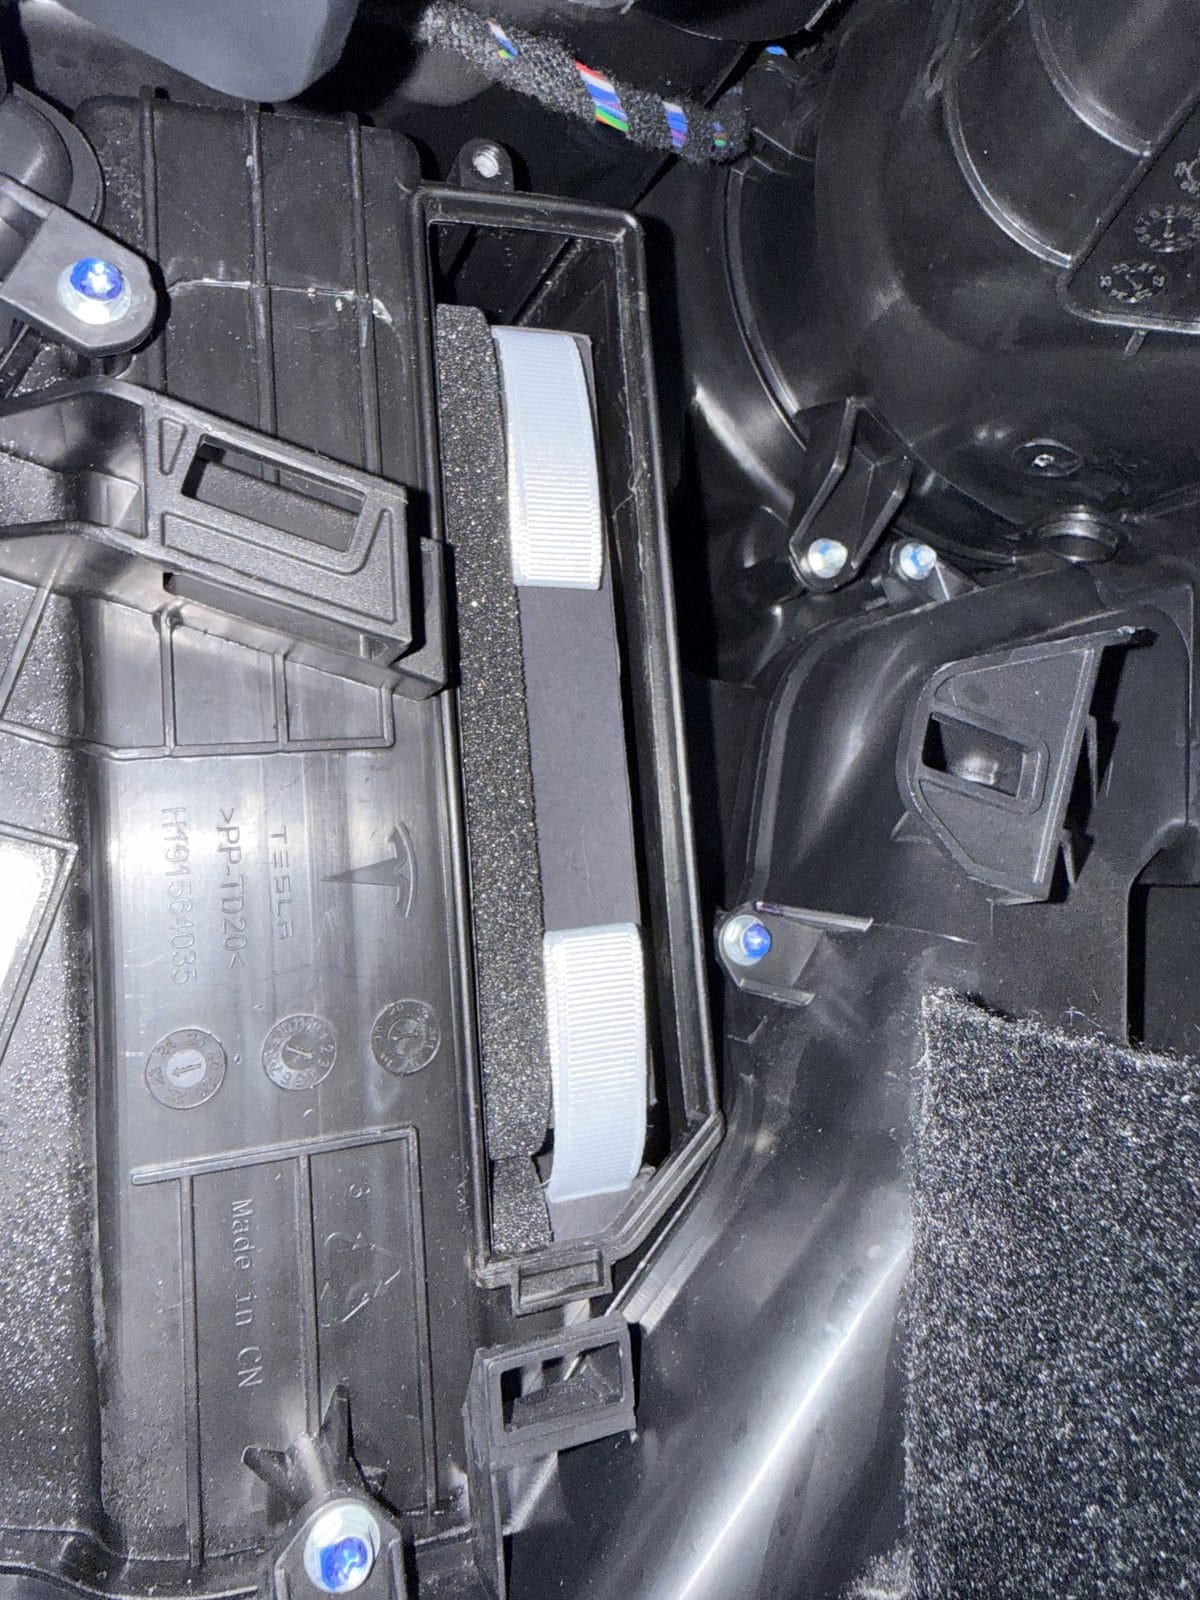
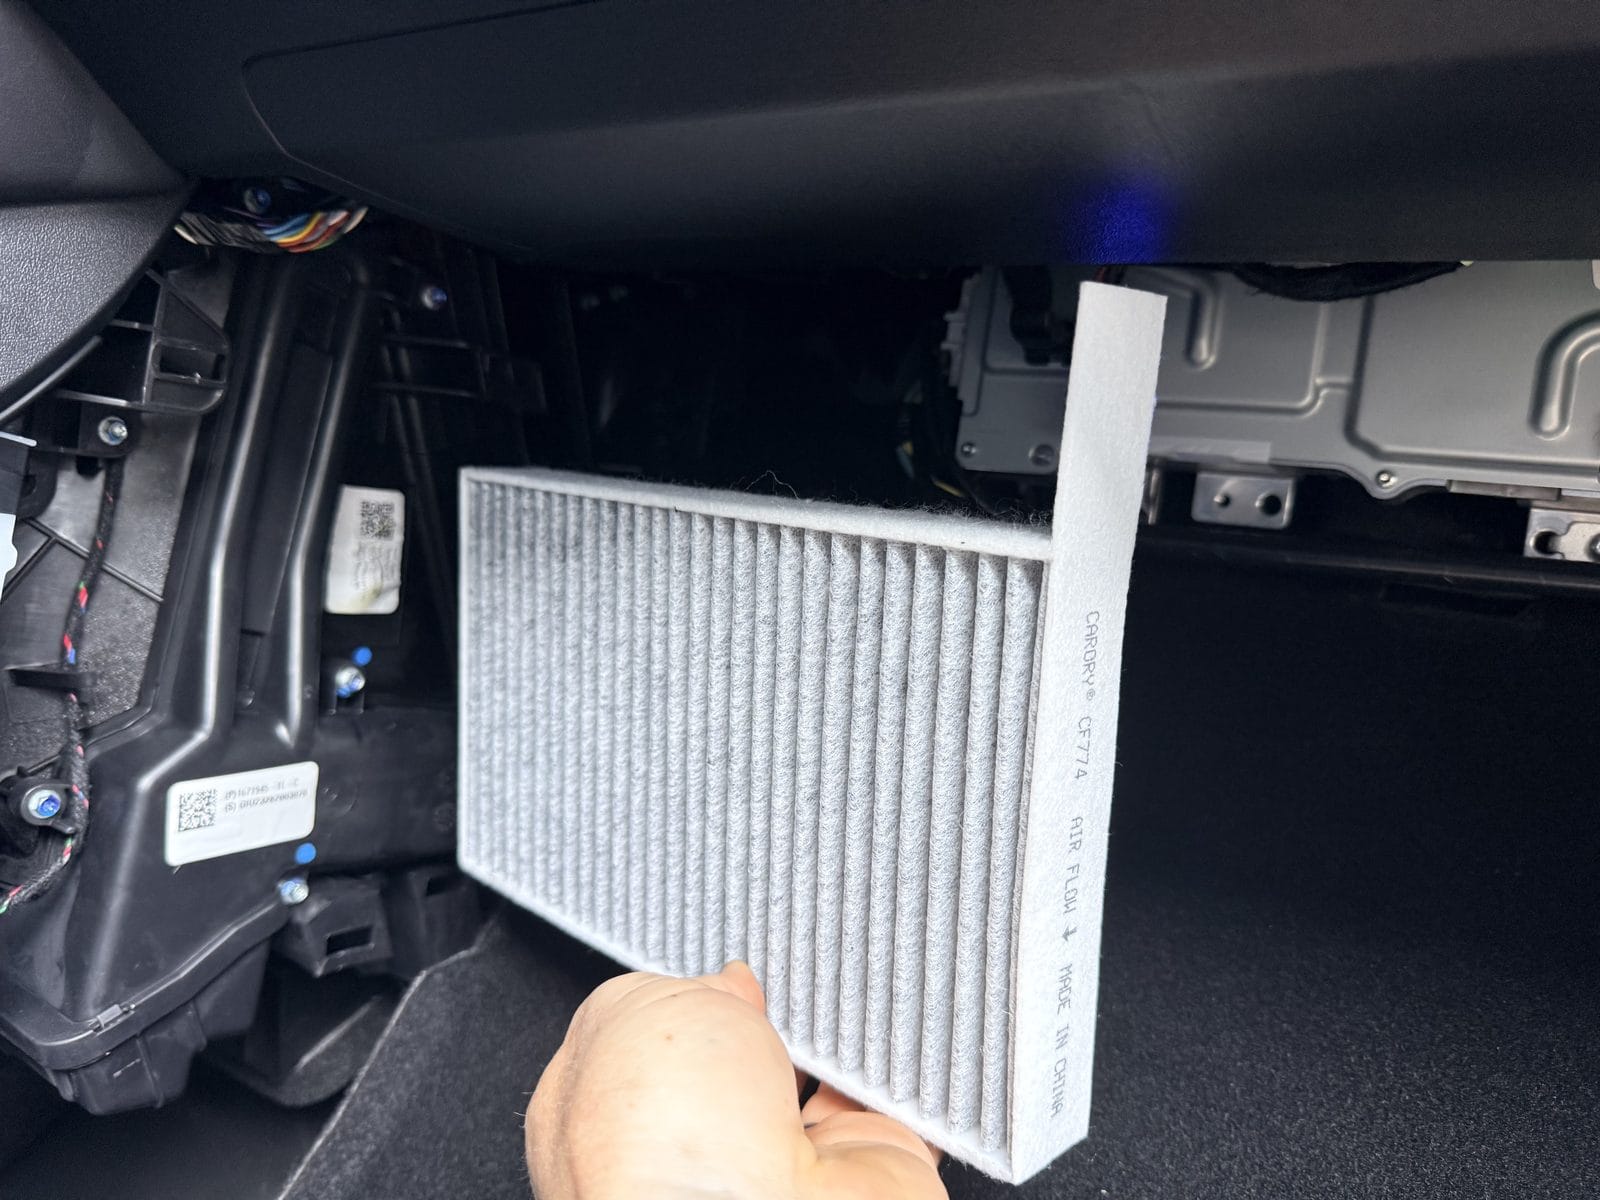
The two filters stack vertically in the housing, and each has a pull tab. Grab the tab on the upper filter and pull it out, then the lower one. Mine were noticeably gray after two Virginia pollen seasons.
Step 5 (optional but recommended): Spray the evaporator with foam cleaner
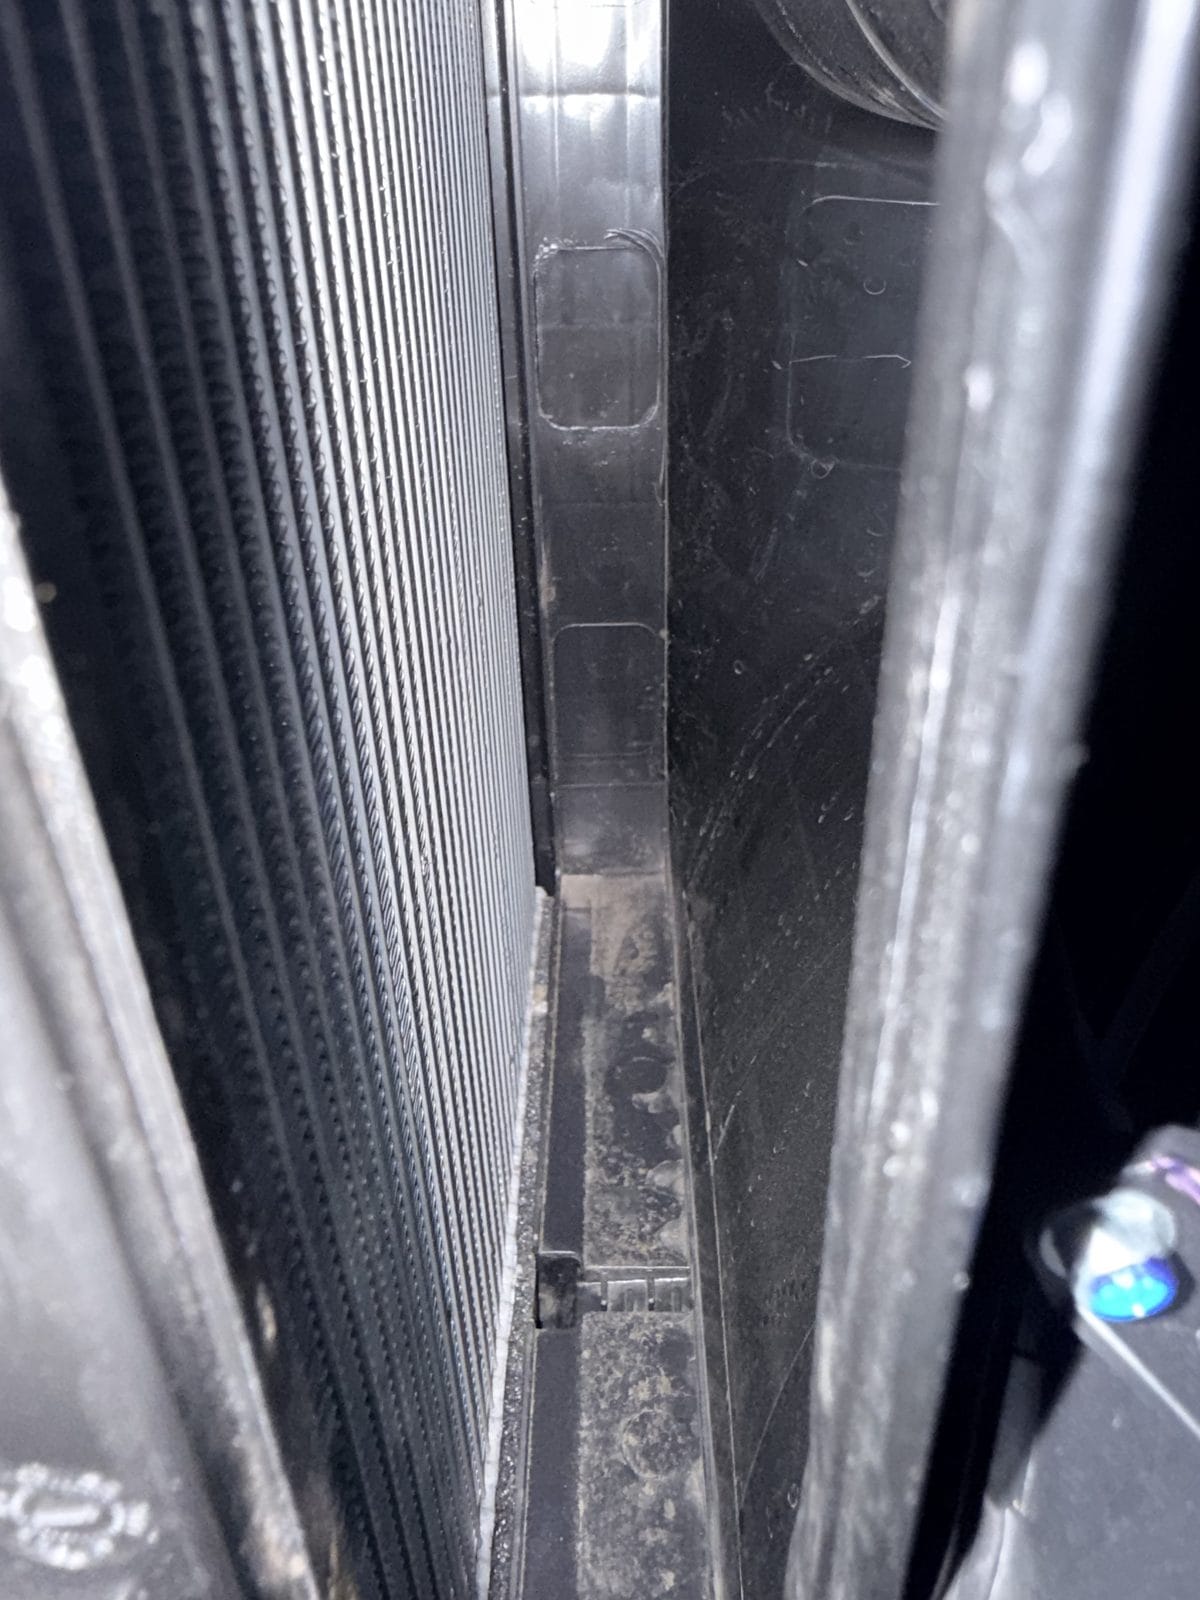
Just doing a routine filter change and the AC smells fine? You can skip ahead to Step 6. Cleaning the evaporator isn't part of a normal filter swap — but with the filters out, the coil is sitting right there exposed, and a 15-minute foam soak is cheap insurance against the mold and mildew that eventually turn into a musty smell. If your vents already smell, don't skip this — this step is the fix.
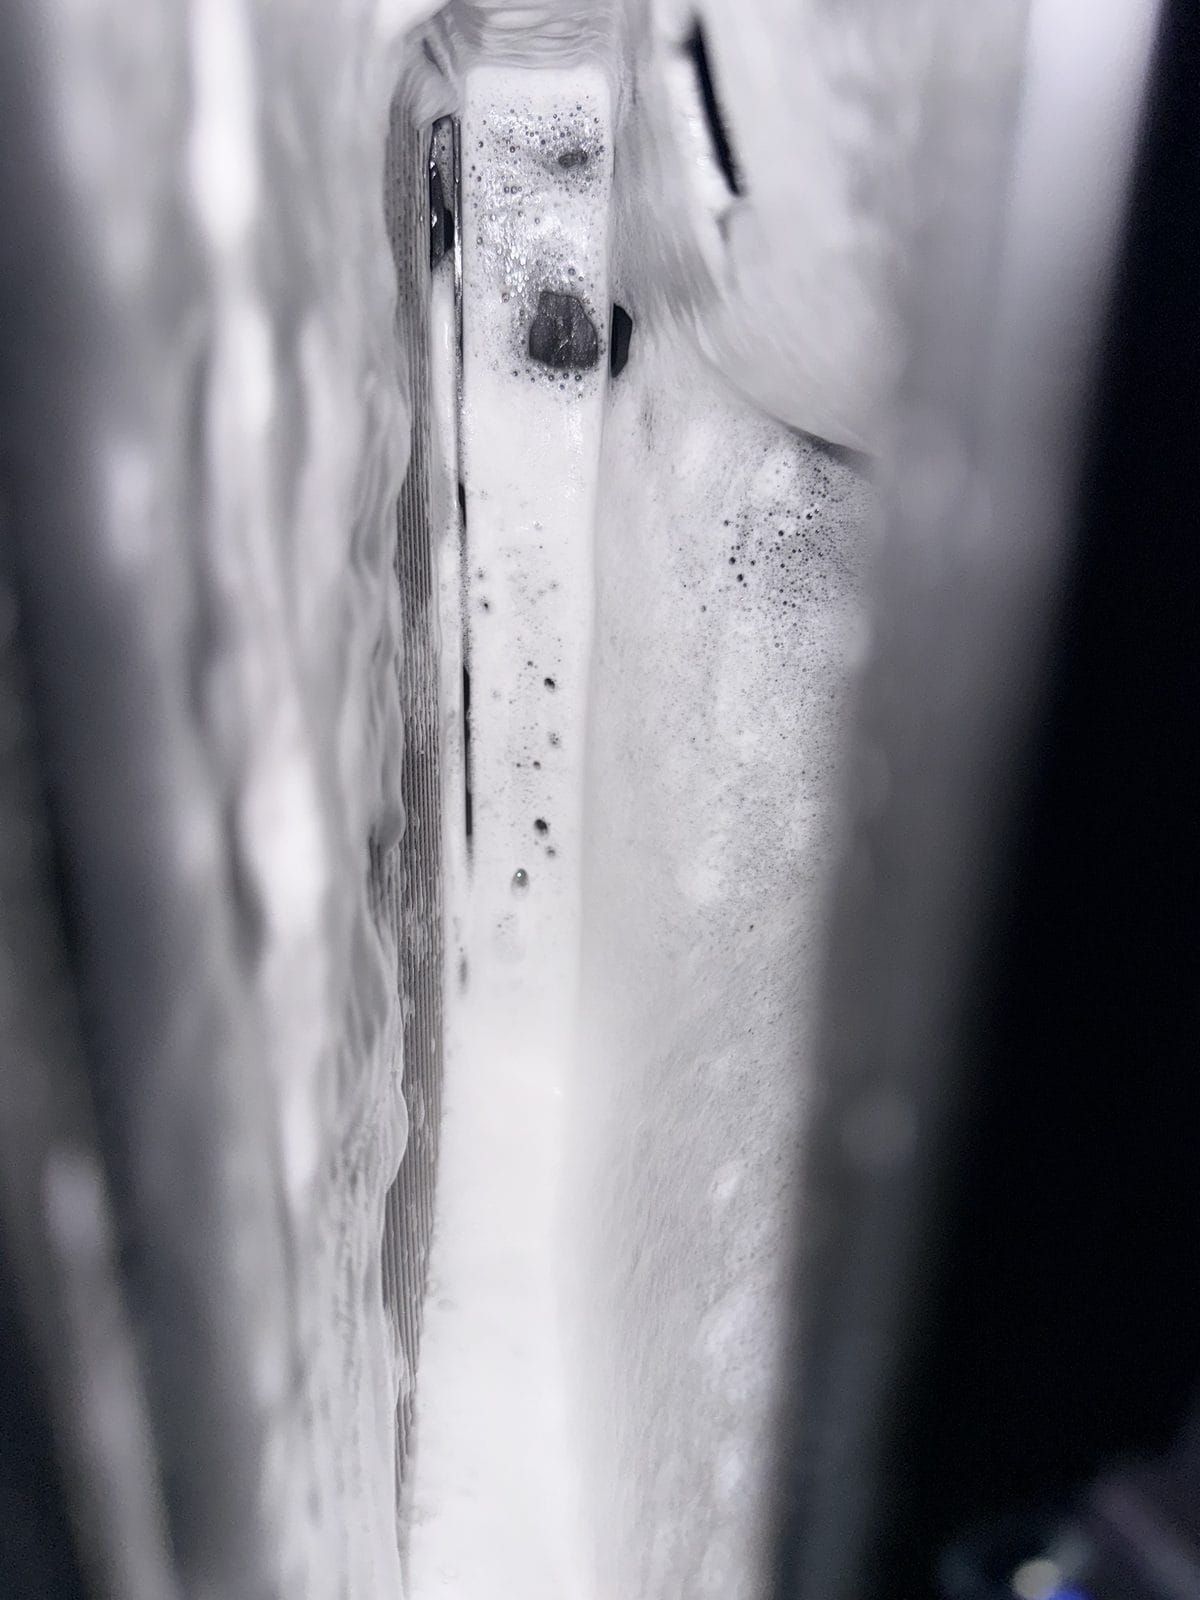
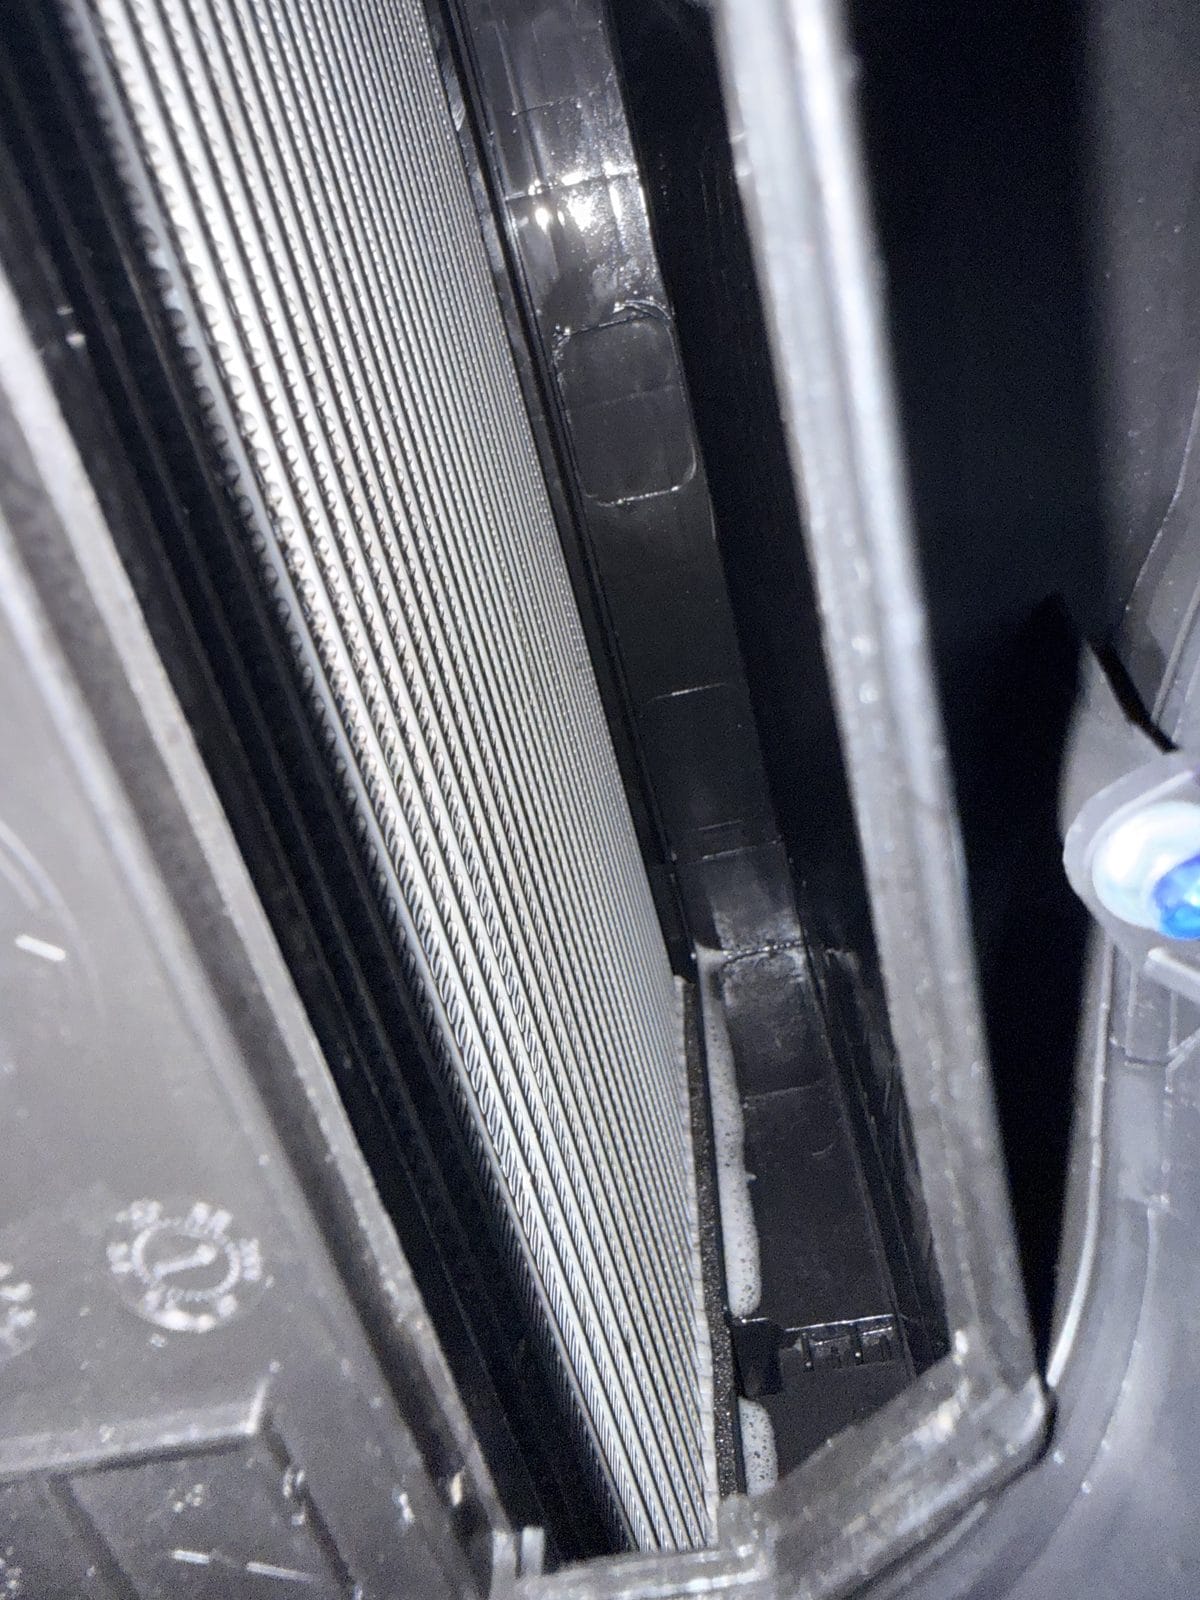
With the filters out you can see the evaporator — a wall of thin metal fins. Mine had a visible film on it (see the before photo). Fit the straw applicator to the Kool-It can and spray foam across the entire surface, top to bottom. The foam clings, expands into the fins, and slowly liquefies as it works.
Let it sit for 15 minutes. The residue drains out through the AC's condensate drain, so there's no rinsing and no mess in the cabin.
Step 6: Install the new filters — tabs out and up
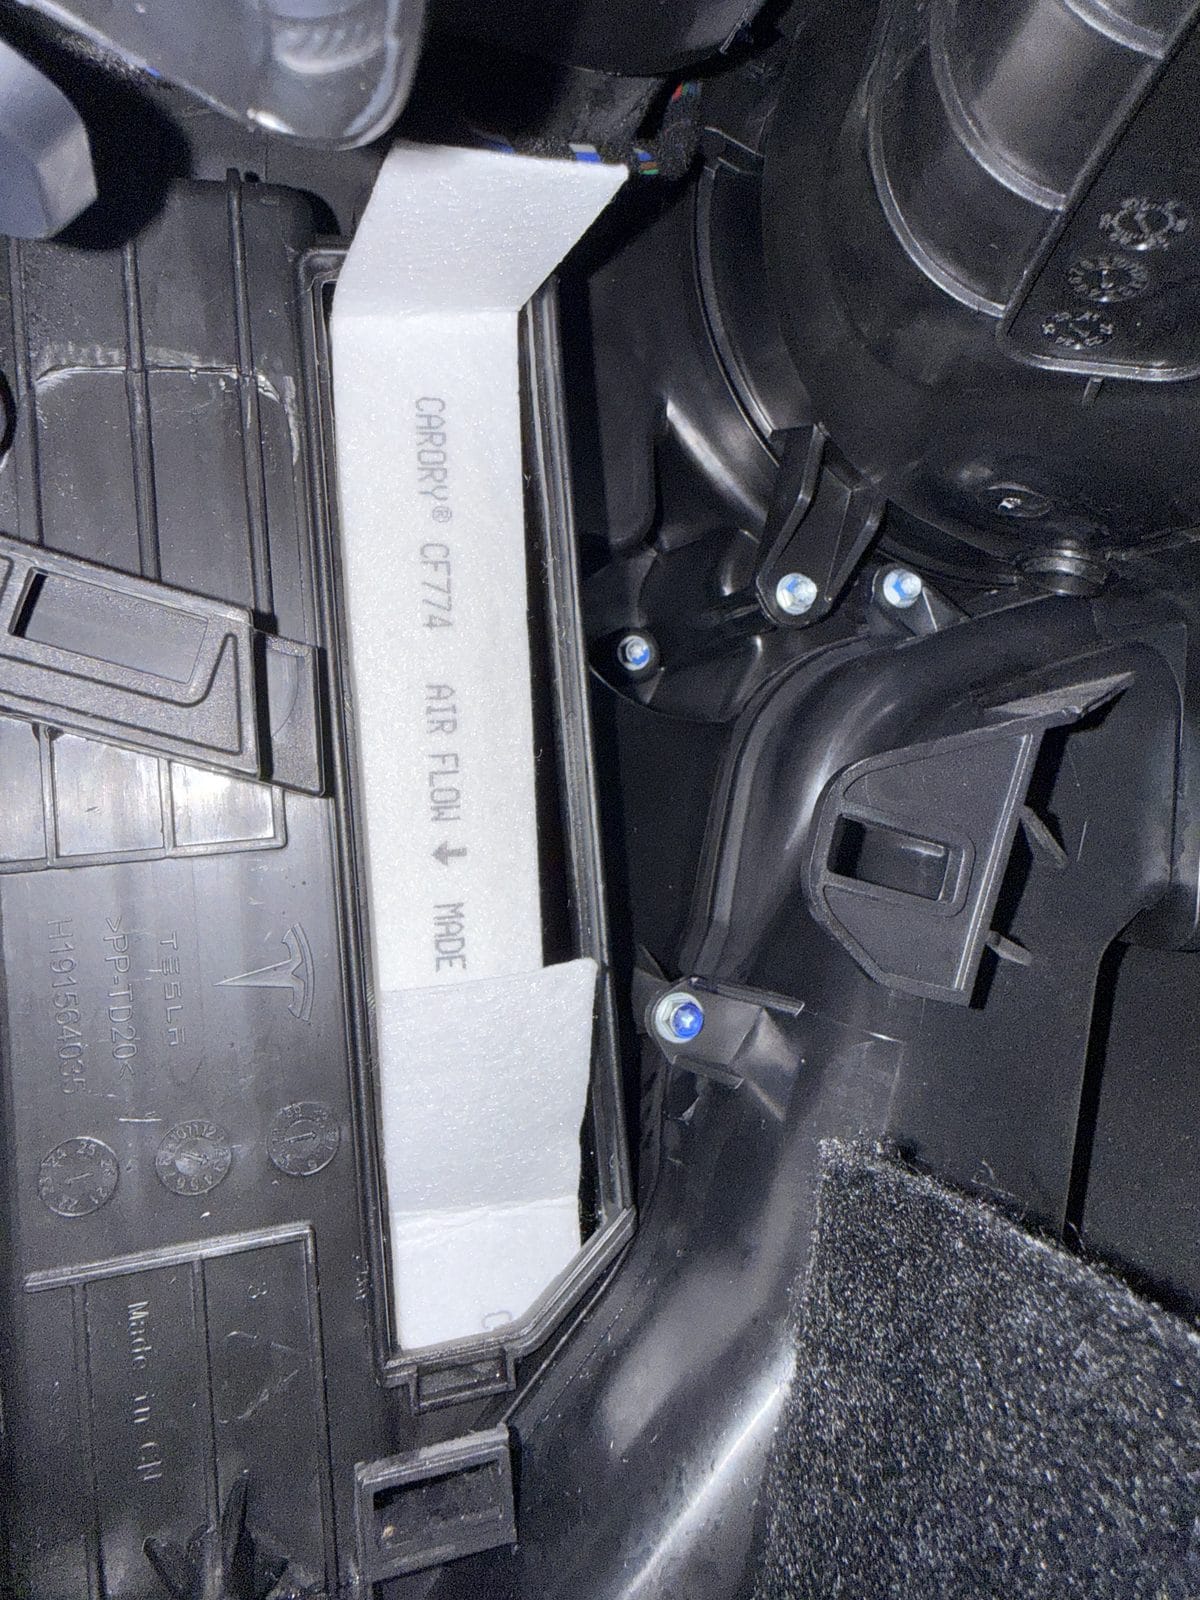
This is the one spot people get wrong. Install the lower filter first, then the upper, with the airflow arrows pointing down and the pull tabs facing out and folded up so you (or the next owner) can grab them at the next change. If the tabs end up buried, the next replacement gets a lot more annoying.
Step 7: Button it all back up
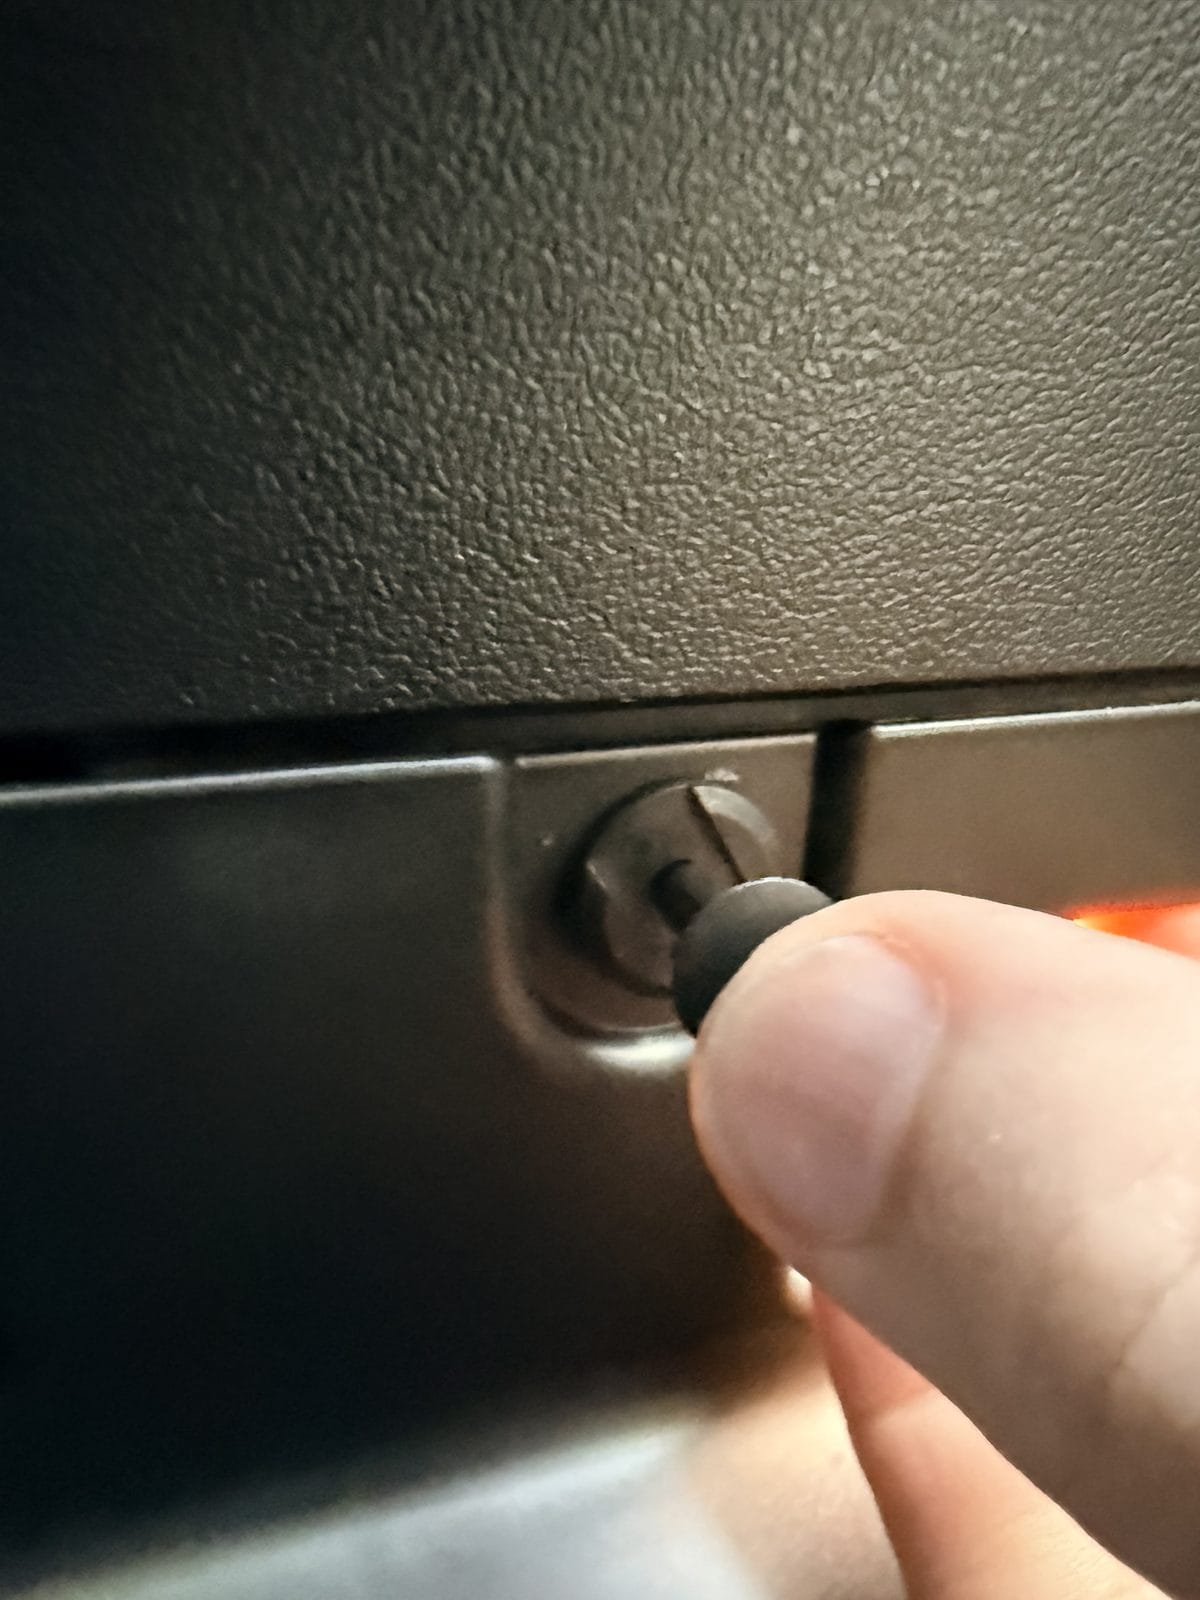
Reinstall the filter housing cover and snug the screw — it only needs to be firm, not gorilla-tight. Clip the under-glovebox panel back in with the four push pins (seat the pin body first, then press the center in to lock it), and pop the side trim panel back on.
Step 8: Flush the system with fresh air
Turn the AC on with the temperature on Low, fan on max, and fresh air selected — not recirculate. Let it blow for a few minutes to clear out any remaining cleaner and dry the evaporator. Done.
How Often Should You Do This?
Tesla's official maintenance schedule calls for cabin filter replacement every 2 years on the Model Y. I'd move that up to yearly if you park outside, drive on dusty roads, or live somewhere with heavy pollen. The evaporator cleaning isn't on any schedule — do it whenever the vents start smelling musty, and it makes sense to pair it with a filter change since you're already in there. It's one of several small upgrades in my Model Y accessories guide that pay off far beyond their cost.
Frequently Asked Questions
Why does my Tesla's AC smell like a gym locker?
Moisture condenses on the evaporator every time you run the AC, and in a dark, damp housing that grows mildew over time. The smell blows straight into the cabin. New filters alone won't fix it — you need to clean the evaporator itself, which is exactly what the foam cleaner does. For the full symptom-by-symptom rundown, see our guide on why a Tesla AC smells musty.
Do I need any special tools?
My filter kit shipped with the plastic trim tool and the wrench for the housing cover screw — but Amazon's listing currently lists only the filters as included, so have both on hand (they're cheap and reusable) in case yours doesn't. Don't use a metal screwdriver to pry trim; you'll scratch or crack the plastic.
Which way do the filters face?
Airflow arrows point down, pull tabs face out and folded up. The two filters stack one above the other — the lower one goes in first.
Does this work the same on a Model 3 or other Model Y years?
The Model 3 procedure is nearly identical, and 2020–2024 Model Ys match what you see here. Newer and older cars can differ in small ways (trim clips, cover shape), so treat the photos as a guide and pry gently if something doesn't line up.
Will Tesla service do this for me?
Yes — but it's one of the most DIY-friendly jobs on the car. You'll pay for parts plus labor at a service center for something that takes 30 minutes on your garage floor with two sub-$20 products.
Our Honest Verdict
This is the easiest maintenance job on a Model Y for what you get back. For under $40 and half an hour, you get clean air, a real odor fix instead of masking sprays, and filters with the tabs positioned so the next change is even faster. If your AC already smells, don't just swap the filters. The smell is on the evaporator, so use the foam cleaner while you're in there, or the odor comes right back through your brand-new filters.